Showing posts with label headband. Show all posts

Tuesday, January 10, 2012

No Machine Required Daisy Headband

I've gone through different stages in regard to my girls' head apparel.  It began with the tiny Target bows.  Cheap and easy.  Then I went through this flower phase:

From there, I majorly escalated to those all-out, feathery, huge bows.  
 Oh my word... how did poor Noelle even keep her head up with this big guy on it?!  
(though I must admit that I still think these bows are pretty amazing...)


Then I backed it down a notch to the slightly larger but simple bows.  That's basically where I'm at now.  I do like a statement piece, but I've decided that I want it to be relatively flat, so the little ladies don't have big bow goiters sticking out of their heads.  Mmmmm... love that imagery?

So here's an easy headband that makes a big splash but lies nicely against the hair... In the size I made it, it did start to stray into crazy big territory.  You can make it smaller.  Either way, it requires no sewing machine!

Here are all the materials it takes, actually:
2 pieces of different colored felt
button
headband (I made mine, but you can just buy it, too)
needle and thread
fabric glue (optional) 2 petal patterns (they don't need to be this size, but make them roughly the shape shown)

First, take your felt and cut out five petals in each color, keeping same colored petals the same size.

Now take your five smaller petals and your threaded needle.  Knot that thread really well at the end.  You're going to run the needle through each petal like this.

And you'll see when you pull it tight, the petal looks like this.  Ooooo!

Go through each petal.  Then go back through the first.  Pull tight and stitch through a couple times and tie to secure the flower.

The cute little guy will look like this:

Do the same thing for your larger flower.

Then place the smaller one on top.  Run your needle through both flowers a couple times to secure them together.

Grab a button and stitch it on, going through both flowers for added security.

If you don't have fabric glue, you can actually just stitch your headband and a backing piece of felt on, too.  It's up to you.  I just sandwiched the headband between the flower and a little strip of felt I cut.


And there you have it!  You can whip a bunch of these up during naptime, in all different colors and sizes.  So... they don't have to be this big.  But don't be afraid if they are! :)

Friday, January 6, 2012

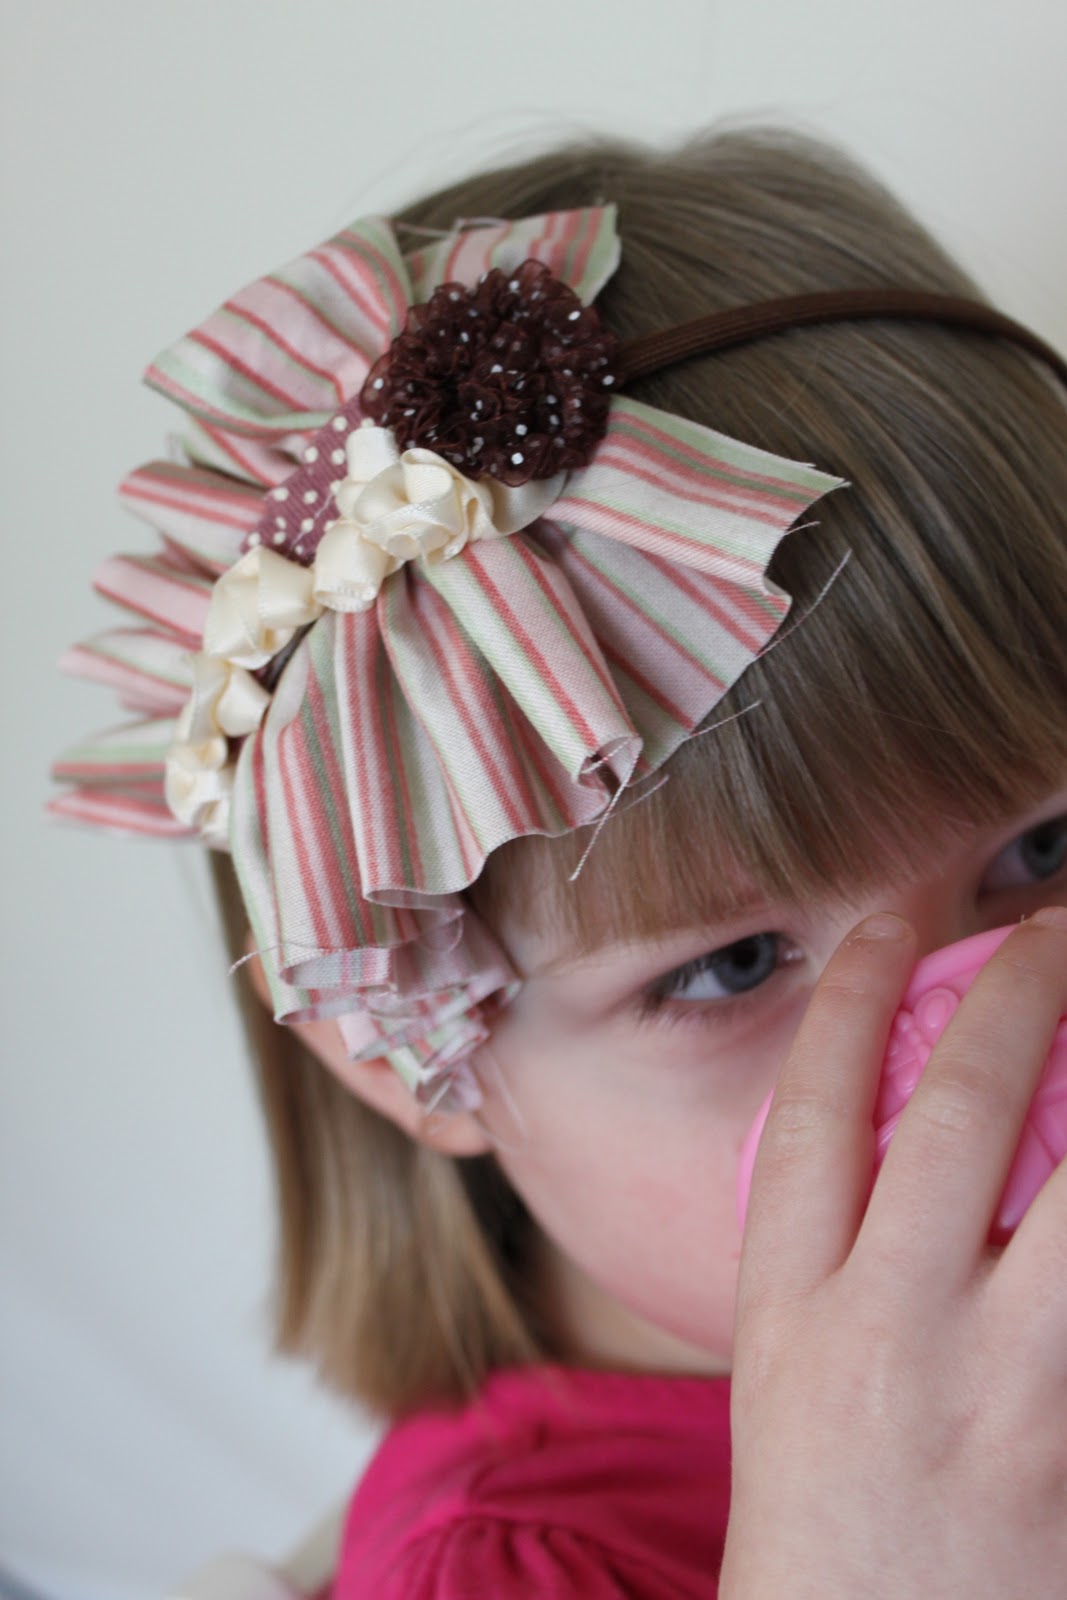
A Little of Everything Headband Tutorial

We clearly are a little enamored with our zebra print headband.  It's made it into two photoshoots in two weeks.  You know what that means!  Time to get crafty.  Headbands are super fun to make because, as all the trendy stylists will tell you, accessories make the outfit... I don't know if that's really what trendy stylists say, but I can imagine them saying that.  I think.  Either way, I like headbands because they really can make a look POP, and they're pretty easy to make.


Materials:
store-bought headband (you can get them at the dollar store!)
3 coordinating ribbons
1 fabric scrap, 4 inches by 16 inches
felt
fabric/craft glue
sewing machine
needle and thread

This headband came together by me fiddling with stuff and just adding till I got what I wanted. So you can really make a gazillion variations of it. :)

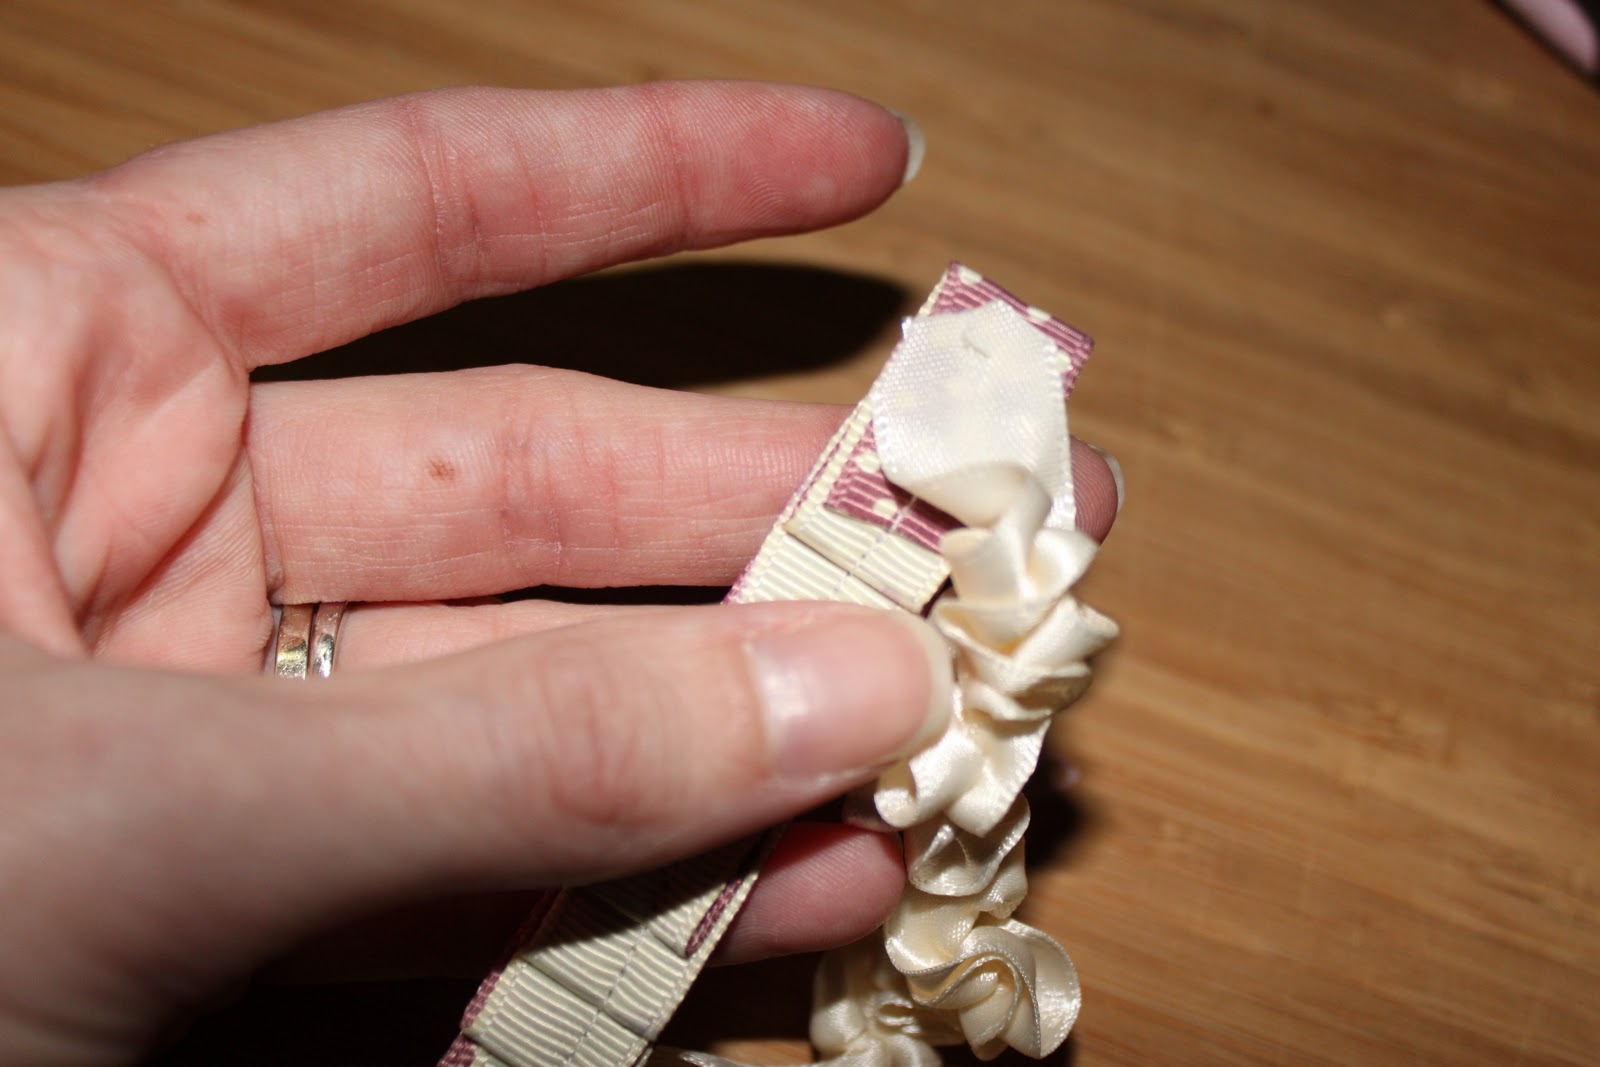
First, I took one of my ribbons and pleated it. I just did this kind of lackadaisically, but I'm sure you can find some tutorials on making perfect pleats if you google it. I just folded the ribbon so it looks like this, pinned it and stitched, lengthwise, down the middle.


Next, I took my other ribbons and stitched a gathering stitch down the middle. I tied the threads at one end and gathered from the other end. I made the cream one pretty tight and the brown one really tight.


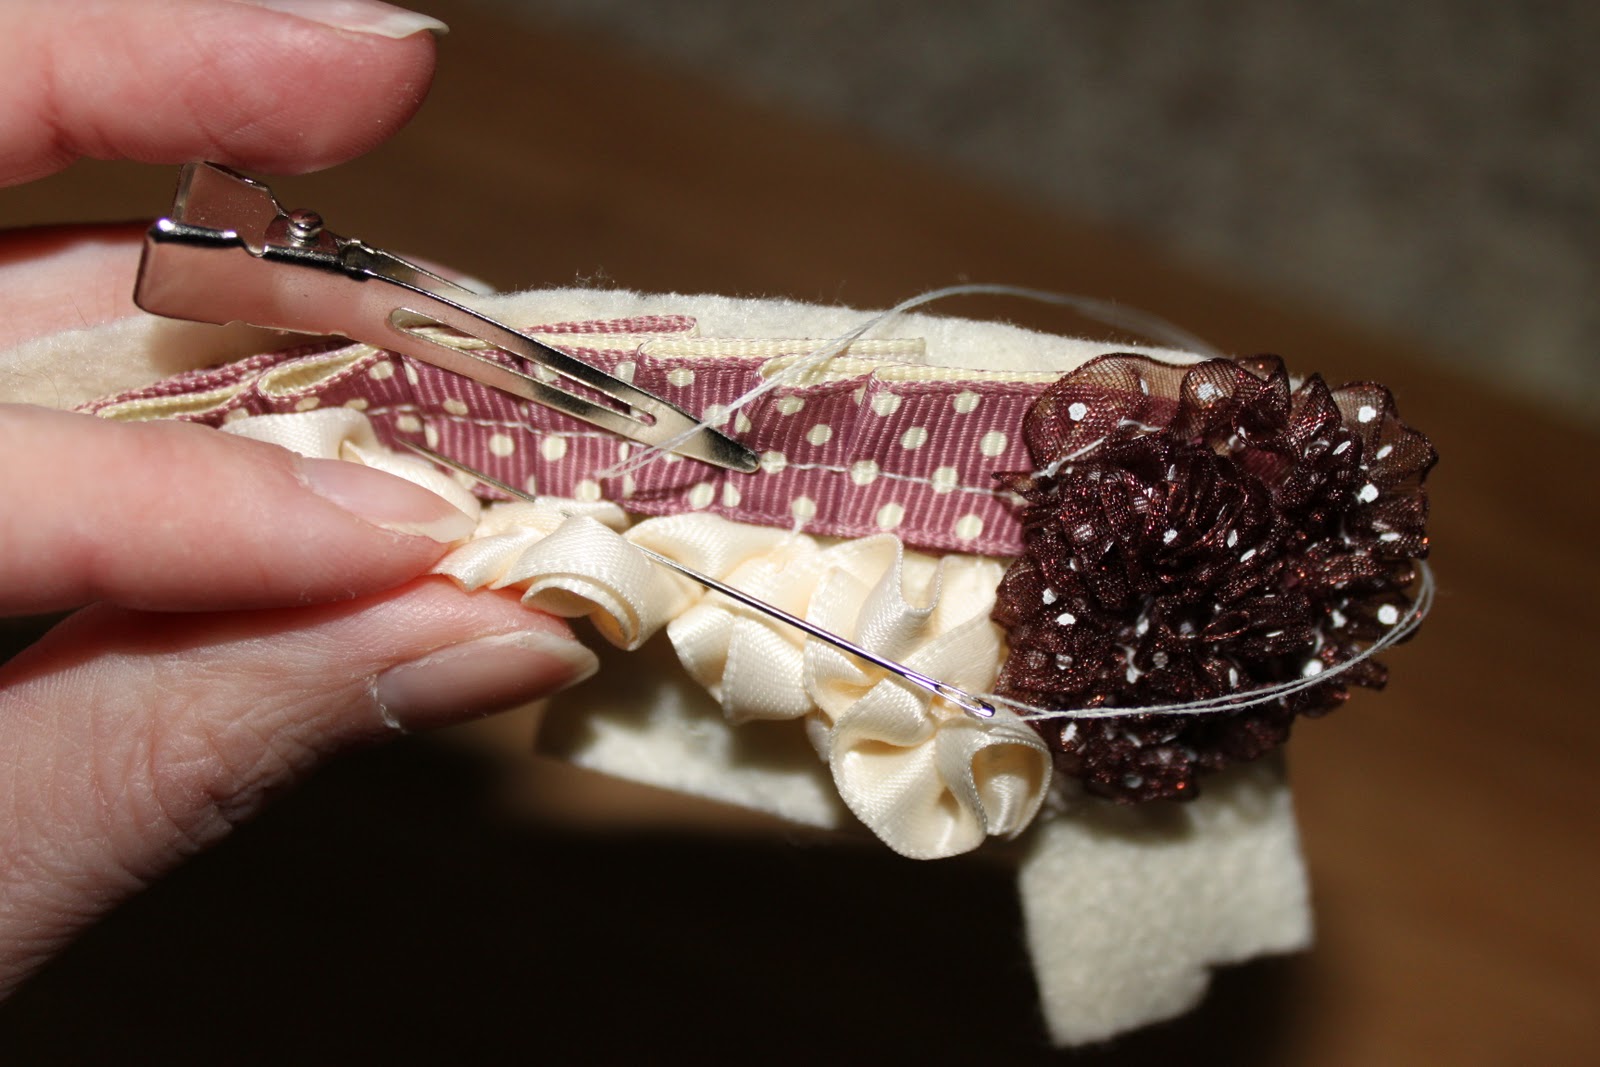
I glued the ends of the cream ribbon under my pleated ribbon. I then glued both ribbons onto a piece of felt. However, I don't really trust glue, so I feel better after I add a few stitches. I did this by hand, making sure that the gathering of the ribbon hid the stitches.


At that point, my camera battery died, but there are only so many minutes in naptime, so I kept going, sans pictures.  Sorry!

I then took my brown ribbon and wound it into a little flower that I also stitched on by hand, going through the other ribbons and the felt.

I then trimmed the felt, so you couldn't see it beneath the ribbons.

I still wanted my headband to stand out a little more, so I grabbed my scrap of fabric and gathered that till it was the same length as my ribbon, uh, thingy.

I put glue down the center of my fabric (right side), following the stitch line. I positioned this under my headband. Then I sandwiched the headband between the fabric and ribbons, adding more glue where necessary. I let that dry a little. Then I took my needle and thread and secured the fabric and ribbon/felt to each other, around the headband.

Done!  It's the perfect tea party accessory!