Tuesday, February 21, 2012

Projects and Projects...

Pin It

I currently have two half-finished projects (and tutorials).  Things have been a little crazy around here, what with sickness and general life-with-three-little-ones.  But I think and hope it will be worth the wait.  Here's a sneak peak of one for you!


It's ocean-themed because the little ladies currently love all things swimming-- whales, fish, BIG fish, sharks, Nemo... you get the idea. 


The other one is a dress that I had to make after receiving the most adorable mustard-colored peacoat as a hand-me-down for Riley. 


But besides these, I need to make one of these bustle skirts from some of my favorite bloggers, liZ and Elizabeth over at Simple Simon & Co.  If you want a super cute project, here's one for you! :)

Friday, February 17, 2012

It's a crockpot miracle!

Pin It

I've used my crockpot to make dinner the past three days.  Oh, I love my crockpot so much.  But I really really do not love cleaning my crockpot.  I know; I'm kind of a baby, right?  But it's just so irritating to me.  Oh, and I don't have a dishwasher either, so maybe that's why cleaning the crockpot puts me over the edge.

But anyway, I had read, in blogland, about these mysterious things called crockpot liners.  So earlier this week, during a trip to Target, I picked up a pack of four liners.


LIFE-CHANGING!


That's all I have to say.  When the meal is done, and the leftovers are stored, I just lift out the liner (which is basically just a plastic bag) and toss it!  And when I had a monstrous flop of a meal, a couple nights ago, the pain of that fail was lessened by the fact that I could just dump the whole thing without having to then clean the crusty evidences of my disgusting flop. 


So yeah, go get yourself some.  Unless you like cleaning your crockpot.  Then save your cash (and maybe move close to me, so you can clean mine?). :)

Wednesday, February 15, 2012

Reversible knit cap tutorial

Poor Little Man has a serious case of cradle cap. Like, had to go into the doc to get antibiotics bad. It makes me so sad. The doctor told me that it would be good to slather him up with Neosporin and cover his head with a soft cap. We have some caps, but since these are going to get yucky and will need to be changed out, I figured we could use a few more. So here's a nice easy knit cap tutorial!


Oh, and I also like making my own hats, so I can fit them to my child. Otherwise, I find store-bought hats sometimes fit funny.

Materials:
Knit fabric (a t-shirt works GREAT for this!-- I used two old shirts for the tutorial pics!)
Sewing gear

Instructions:
To make a pattern, trace around a hat that fits your baby well.  Or you can use my pattern if you want a 0-6 month hat!

Cut out four of the pattern, two of each fabric. It's easiest if you cut the main hat first; then cut the little notch out of the top.


Sew the notch together on all your pieces.

Then sew your coordinating sides, right sides together. Make sure you line up the notch seam.


Flip one hat right side out and place it inside the other, so they're right sides together.


Using a stitch that stretches (like a zig-zag), sew along the bottom, leaving a 1-inch opening to turn.  

Turn the hats right sides out.

Press/pin the seam.  

Top stitch, again using a stitch that stretches. 

Quick and easy!

Monday, February 13, 2012

Built-in scarf tutorial

Want a project that's easy, quick and super gratifying? Here it is! This took me roughly 20 minutes to make, but it left me ridiculously excited for 200 days... or it probably will. I did only just make it. I'll get back to you.

Anyway, I love the end result. And if your little one is like mine, so will the recipient. Riley's penchant for accessorizing actually inspired this top. She loves throwing on headbands and princess skirts, watches and bracelets, and when she saw me in a scarf, she needed one. However, if she's going to wear a scarf to preschool, I'd like it to return home, too. So I done thunk up this idea. :)

Materials:
Shirt
5-inch strip of knit fabric

Instructions:

Cut your fabric, 5 inches by the width of fabric.  If you want your scarf wider, by all means, cut it wider!  No rules here!  My strip also ended up being about 48 inches long.

Fold edges over and cut a little curve.


It will look like this when you open it back up.

Next, make a lettuce edge on your scarf.  If you haven't done this, boy, it's fun!  It's super easy, and it turns out so cool.  Here's how you do it.  Set your machine to a zig-zag stitch and decrease the stitch length.  I set mine to 2 1/2.    You're going to stitch, so the outside of the zig-zag hits just outside the edge of your fabric.  The big thing, though, is that you want to stretch the fabric as you go.  Stretch it out in front of your needle, but hold it in back, so you can actually get stitching.

Full disclosure: my hands hurt after I finish, from holding onto that fabric to stretch it!  But, oh, is it worth it!

Now run a gathering stitch down the center of your scarf.  Gather it to ruffle your scarf to your desired length.  Mine ended up being around 32 inches after I had it all ruffled.

Just a little tip.  After I finish gathering, I tie the top and bottom threads together, so the gathers don't loosen up.  Here's a picture of me tying them, in case you don't know what tying is. ;)

Here she is: your scarf!  So stinkin' cute, right?  You should probably find other things to add lettuce edges to.

Now grab your shirt and pin the center of your scarf to the center of the back.  Keep pinning the scarf around the shoulders.

I overlapped my scarf, so I only pinned down the side that was going to be underneath.  Once you're done pinning, stitch the scarf, following the line of your gathering stitch.

Remember to place your top overlap before stitching!  Doesn't have to be perfect, so just wing it.  Then take those gathering stitches out.

And 20-30 minutes later, you are done!

So cute.  And no toddler's going to lose it for you! :)

By the way, for older kids, you could leave the front loose--only sewing along the back and shoulders, so they can throw the scarf over their shoulders at will (Who's Will?  Hahahahaha!).  But I didn't want any risk of scarf-tugging or snagging.  Just another idea!

Sunday, February 12, 2012

Super Ruffle Skirt Tutorial

Pin It


It was really cold this past week.  So what did I do?  Make a little spring skirt! :)  But if you did it in more, uh, seasonal colors, it can work year-round.  Just add tights or leggings!

Materials:
coordinating fabrics (you can use as many or few as you want-- even just one fabric)
1/2-inch elastic
fabric marker
sewing gear

Instructions:
Let's start with the skirt base.  Decide on the length you want for your skirt and add 2 inches for the hem and elastic casing.  Then cut the width your waist measurement plus 4 inches.

For my skinny-mini 3T/4T, I cut the skirt 13 inches long and 25 inches wide.

Sew your short edges together then zig-zag to finish.  Then fold your hem up 1/2 inch and press, then another 1/2 inch and press.  Sew close to the edge.

For your waist/elastic casing, fold over 1/4 inch then 3/4 inch.  **These measurements do not have to be exact.  Do make sure that you'll be leaving enough room in your casing to fit the 1/2-inch elastic.**

Stitch casing, close to the edge, leaving about 1 inch open through which to thread your elastic.

Here's the opening...

Using a straight edge and your fabric marker, draw lines across your fabric, starting 1/4 inch below the stitching of your elastic casing.  From there, draw the lines 2.5 inches apart.  (You may need to adjust this if your skirt is significantly bigger or smaller.)

Now we move on to the ruffles-- the more time-consuming part that makes it just so freaking adorable.

Cut four strips, 4 inches by the width of the fabric.
 
Sew short edges together, making big loops.  Zig-zag stitch.  Hem the bottom of the strips.  Then run a gathering stitch along the top edge.

Gather the ruffles until they're the width of the skirt base.

My OCD tendencies were kicking in while I was making this one, so I went the less efficient, more finished route.  However, the more efficient way is, really, pretty much just as good.  Let me walk you through what I did for attaching the ruffles, then I'll tell you the more efficient option.

Staring with your top ruffle, line it up with the top line.  Place fabric right sides together with the ruffle flipped up.  Sew a straight stitch to secure the ruffle to the base.  Then go back and sew a zig-zag stitch along the edge, to finish it off.

Continue doing this with all your ruffles until you get this.  This picture is actually of the skirt upside-down because the ruffles will be flipped down in the next step.

Flip the ruffles down, starting with your bottom ruffle.  Press it down lightly.  Then topstitch close to the edge.


Once all your ruffles are flipped down, you'll have this.  

**The quicker way to do all this is to do your top ruffle the same way. But since the bottom ones are overlapped, you can just place them as you want them, right sides out, stitch them on with a straight- then a zig zag-stitch. This way, you skip the flipping down and top-stitching, and no one else will ever know. **

Now all that's left is to put your elastic in.  Using a safety pin, thread it through your casing.   Once you have it all the way through, overlap the edges and zig-zag stitch them together.  Then close up your opening.

Here's what the inside of the skirt looks like:

And here's what the outside looks like.  Model pose!
 
And work it out because, hey, you've got a sweet new dancing skirt! :)

Saturday, February 11, 2012

The Valentine Fiasco

Pin It

After much deliberation, I decided on the valentine I wanted to give out to all our pint-sized friends.  It involved owls, props and no candy.  I thought it was a nice combo.  So I shot pictures of the girls, pasted some words on them (the pictures, not the children), uploaded them and ordered.  A few days later, I got an email, informing me that my order of 101 prints had shipped.  Wha?!  We have a few good buddies, but we're not nearly that popular.  Seems that I had started to order the prints, put them in my "cart", had to go attend to some child, then came back later and added the same order-- once again-- to my cart.  Uh... oops.  Maybe I should have double-checked before clicking "buy".  In my defense, I distinctly remember doing all this, using one hand and holding a 3-month-old in the other arm.

The other thing that my notification email said was that the prints were due to arrive on Tuesday... or, in other words, ON Valentine's Day.  Gosh darn it.  I may have to run to Target for some 1-hour-photo developing if they aren't here on Monday.

Anyway, here they are!

For Riley's preschool buddies

For mutual friends (check Noelle's tough guy face, and Riley's super-cool pose)
Remember, if you want to make an owl jumper of your own, go here for the tutorial!! :)

And another one for mutual friends because it was tough to get all three kids in the picture at one time. :)  How adorable is that gummy smile???
 
I'll be attaching dollar store sunglasses to them.  See... candy-free but not fun-free! :)

Tuesday, February 7, 2012

We Interrupt this Program...

Pin It

I have something in the works that, I think, may be my craziest (and hopefully coolest??) dress yet.  However, I've had to put it on the backburner for the past couple of days as I've been working on a t-shirt quilt for a friend.

I love t-shirt quilts.  I have not loved making this t-shirt quilt.  It's totally my own fault.  I made it HUGE!  She has a ton of great shirts connected to great memories, so I used them all.  This thing is gargantuan.  Sheesh, it's big.  And you have to remember that I make children's clothing.  It's not big.  Oh, and I have a small house.  I'm not kidding you when I say that I don't have a big enough space to lay the whole thing out in.  Have I mentioned it's rather large?  I hope hope hope I'll be done with it tomorrow.  We'll see.

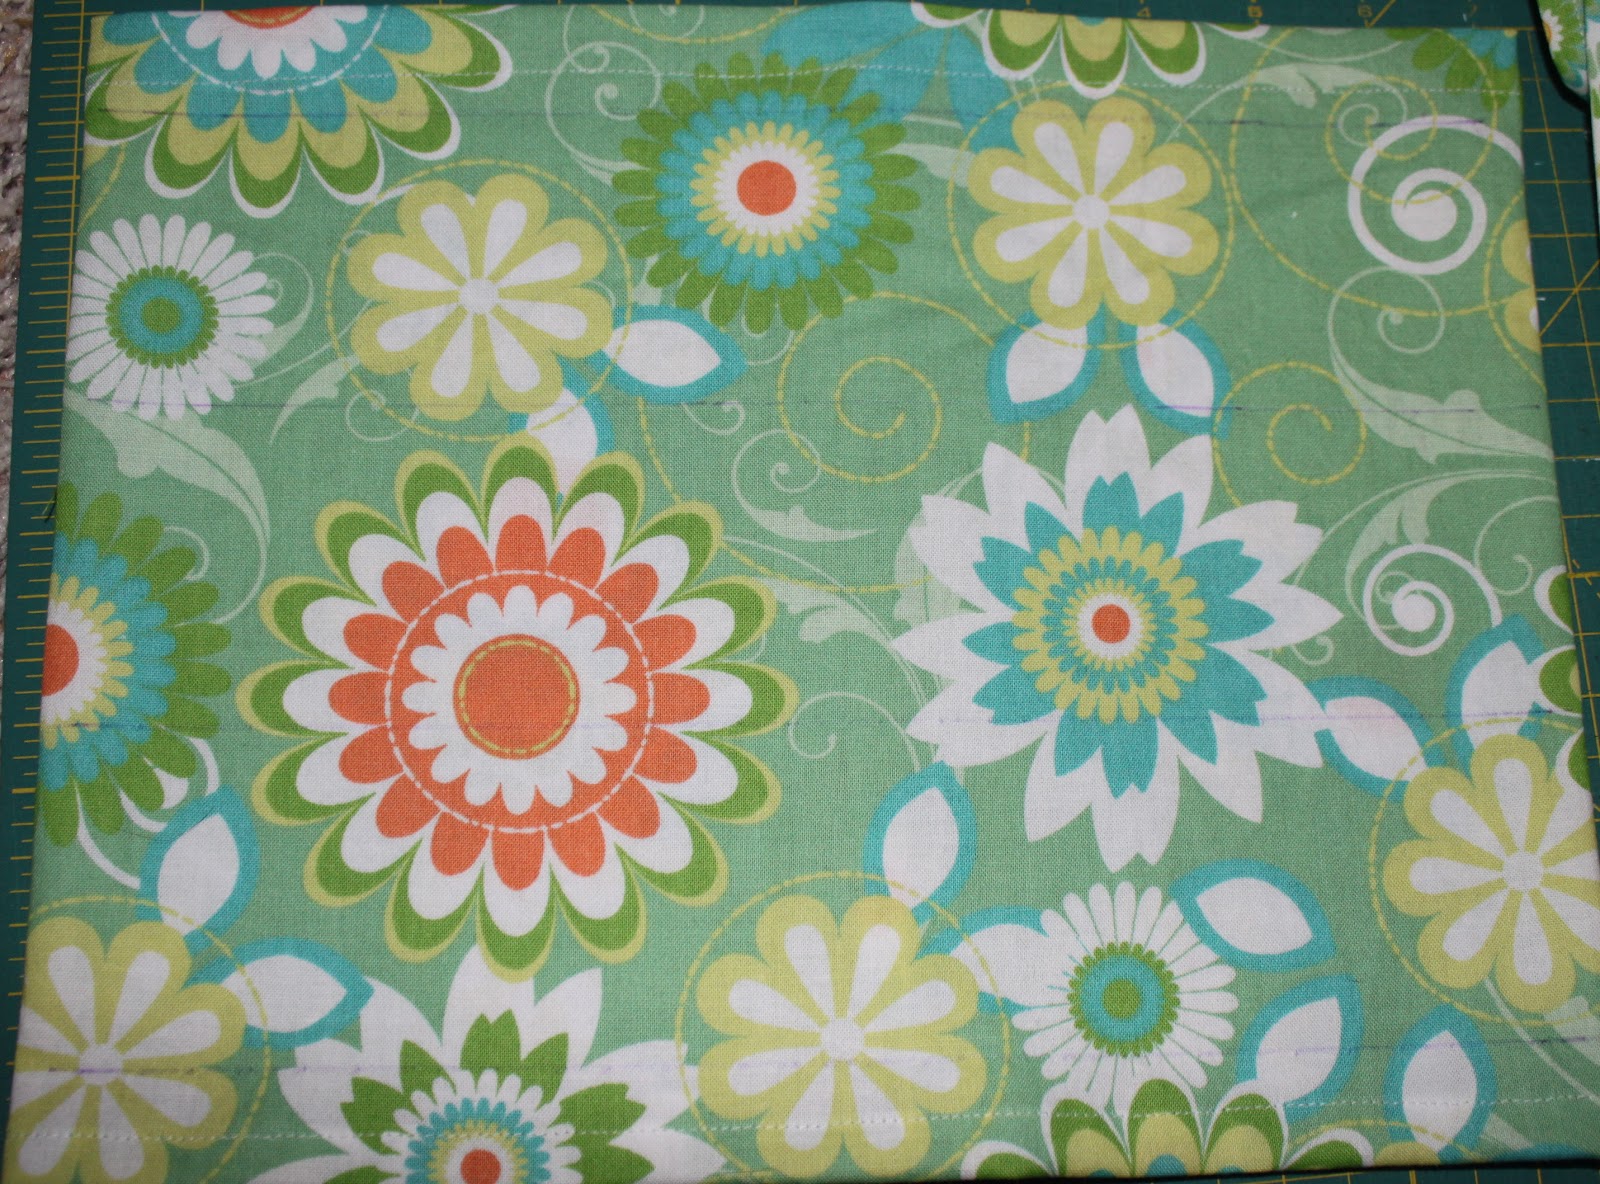
Until then, here's the fabric I'll be using on my next dress... just as a sneak peek!