I'm a big fan of the girls over at Simple Simon & Co. They're ridiculously talented, so generous, and so real. And I don't even know them. But they write so real about their lives, and I really value transparency. So I'm sending you to this short and sweet post from liZ, posted today. Be encouraged folks. The messes won't knock us down.
Saturday, September 8, 2012

Tuesday, September 4, 2012
New (and bigger) Horizons
I made a top yesterday/this morning in a size 6. My girls are 2 and 4. But I'm pretty excited about the idea of sewing for the 6-10 age range. First, because I've started looking in the girls' (as opposed to baby) section of Target, and girls clothes are WAY more expensive than baby clothes. Okay, maybe I didn't need the caps, but still, they seemed a lot pricier to me. Second, because I think I'm going to really like getting to sew clothes for my little girls that keep them looking like little girls-- not teenage, Twilight-loving, leather-and-lace hipsters (Hehe... I kind of ran out of descriptive words for tweens... but, you know, I want to keep my little girls little girls, as long as I can!).
And my mother-in-law, who is the women's pastor at her church, told me that she has a lot of moms of the 6- to 10-year-old crew who feel the same way.
 So here's my first top, which I kind of love. It's a "popped collar"
peasant top with flared sleeves. The fabric is lovely. It's a slightly
heavier cotton which is so soft and wonderful. (If you're really on
top of things, you'll remember it from this top.)
So here's my first top, which I kind of love. It's a "popped collar"
peasant top with flared sleeves. The fabric is lovely. It's a slightly
heavier cotton which is so soft and wonderful. (If you're really on
top of things, you'll remember it from this top.)
 I made the front (and the back) of the collar flare a little less, so it won't annoy little chins.
 And here, you can see the facing of the sleeve flare.
Bring it on, age 6! We're getting ready for ya! :)
And my mother-in-law, who is the women's pastor at her church, told me that she has a lot of moms of the 6- to 10-year-old crew who feel the same way.


Bring it on, age 6! We're getting ready for ya! :)
Monday, September 3, 2012
Project Chevron: Rainbow Snails Shirt
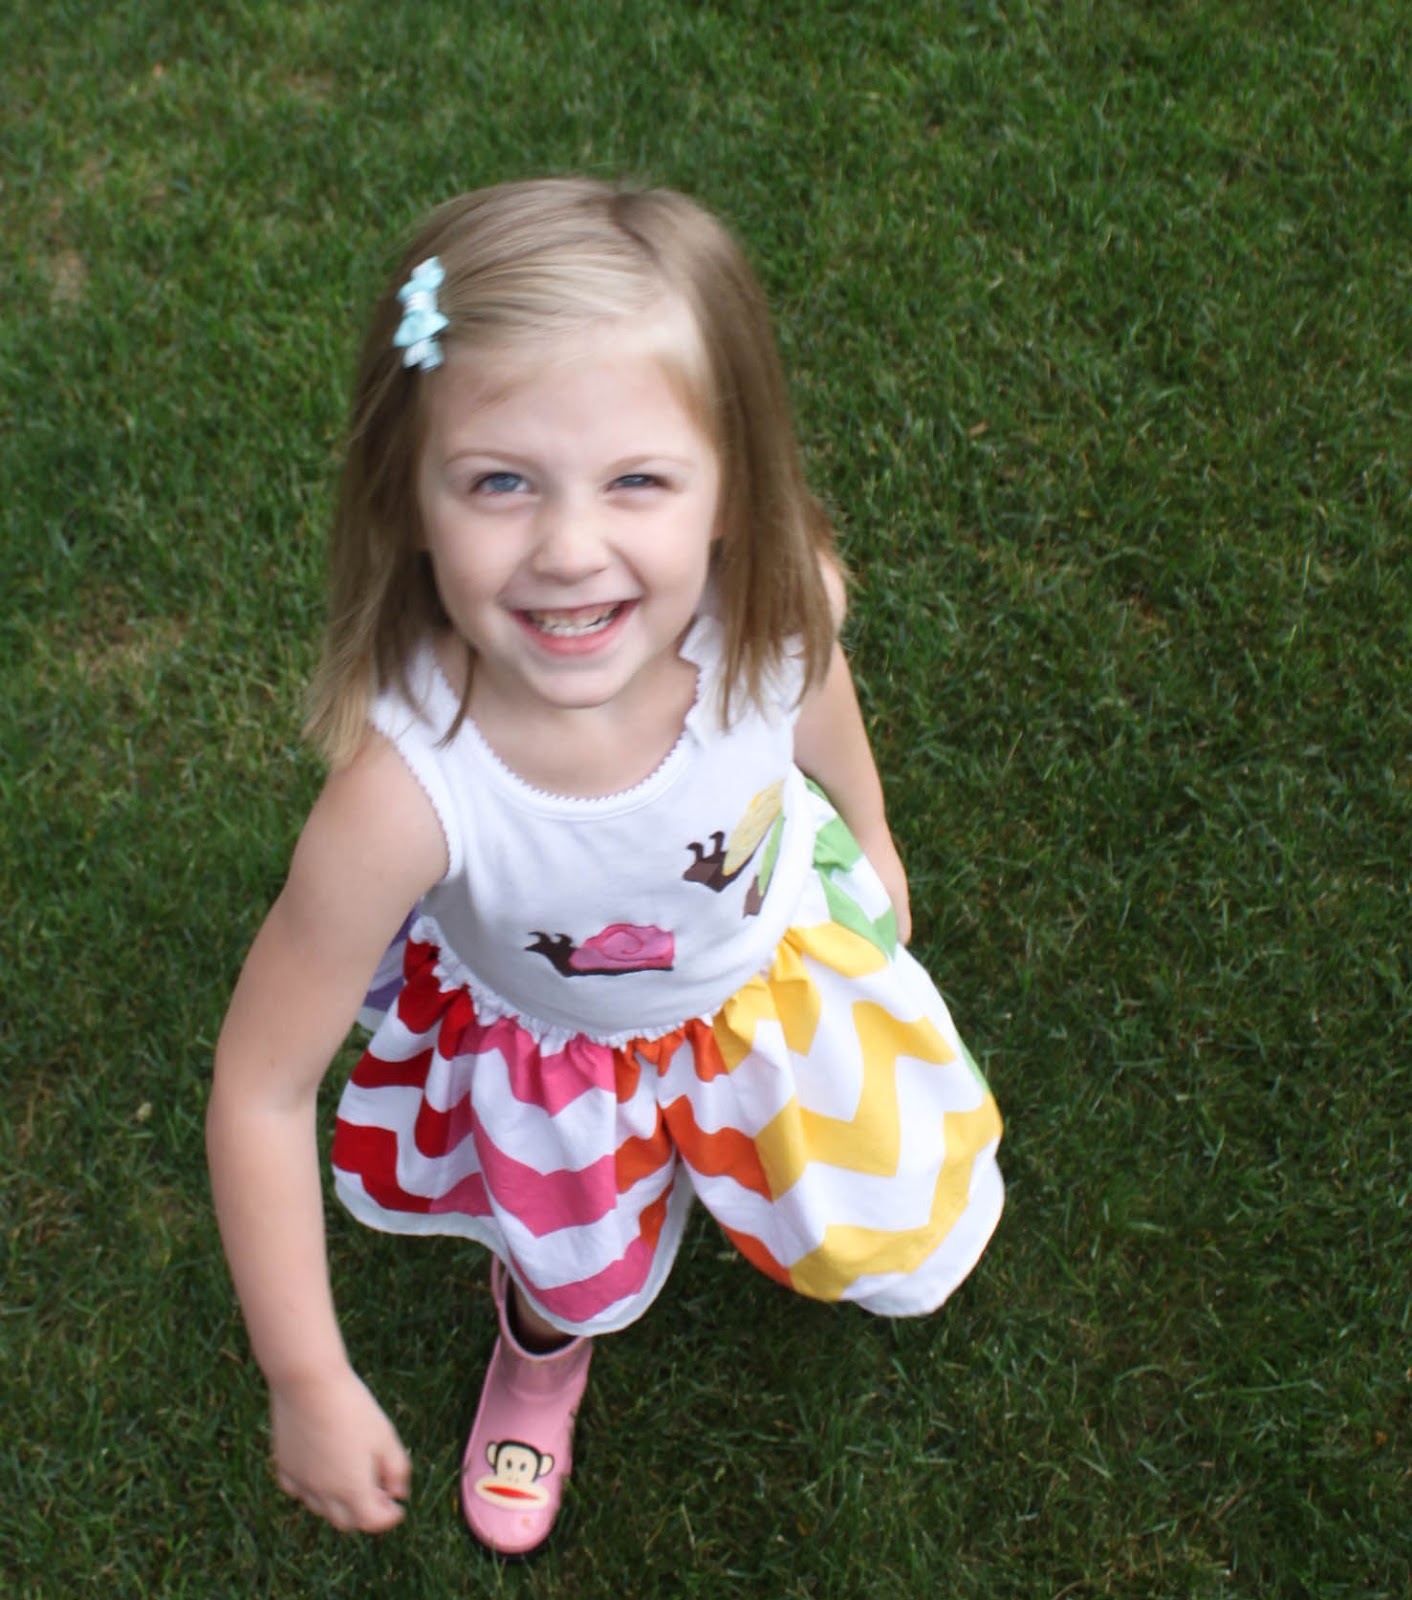
Did you like the rainbow skirt? I hope so! I really really like it. But I'm also pretty partial to the little snails tank top that I made to go with it.
I just grabbed a little white tank that I got at Target a while back. It has this cute little bow detail on one shoulder.
 Then I grabbed my tonal chevrons and went to work, appliqueing some snails... because even girls can like snails, right? After I ironed them on and stitched around them, I decided their shells needed a little detail. So I swirled 'em.
 Don't be surprised when you see Noelle and Brooks sporting some snail shirts, too! :)
I just grabbed a little white tank that I got at Target a while back. It has this cute little bow detail on one shoulder.


Sunday, September 2, 2012
Project Chevron Stash: Rainbow Skirt (and TUTORIAL!)


Like the snail tank? See it a little closer here!
Front:

Back:

Here are your instructions:
First, you need to cut your pieces, so the chevron lines up. I like using a 3/8-inch seam allowance, so I cut 3/8-inch from where I want my seam to be (the points of the chevron). Line your cutting edge up so it's 3/8-inch from the points all the way down. Cut. Then do the same on the other side. You'll see I also cut the top of my pieces right at the points.

Cut it whatever length you desire. I cut mine 12 inches. Cut each piece the exact same way.

Once you have all your pieces cut, decide which order you want them in.

Line the edges up carefully. Use lots of pins. Then sew together, using that 3/8" seam allowance. Your stitch will hit on the points.
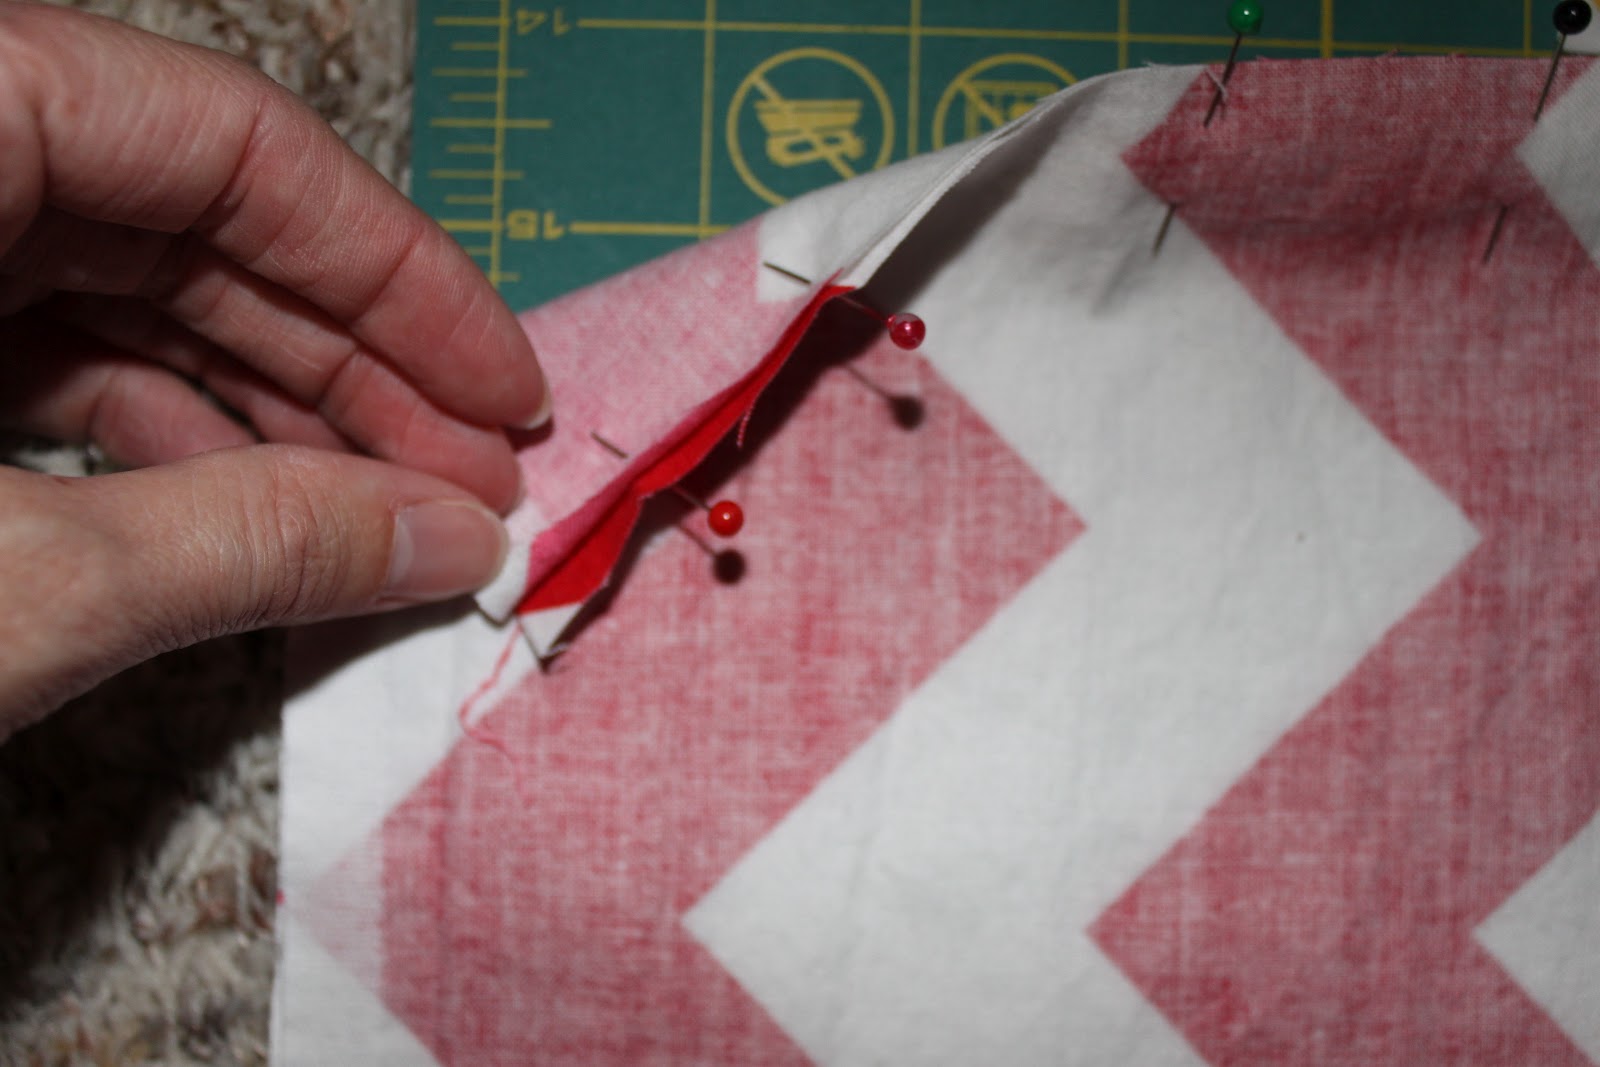
So when you flip it open, it'll look like this. Yay! Finish the edge with a zig-zag stitch. Then continue sewing them all together till you have a big loop. Hem the whole thing.

Cut your bottom skirt layer the same width of your finished top skirt. I used Riley Blake's large chevron which measures 4 inches from peak to peak, so each of my pieces were 8 inches. 8 inches times 8 pieces equals 64. Then I add 3/4" for my seam allowance (or 3/4" on both pieces if you need to cut two. Since I used an old sheet, I had plenty of fabric). For the skirt length, I cut mine 14 inches (2 longer than the chevron top skirt). Sew short ends together. Hem.
Pin your underskirt WRONG SIDE to RIGHT SIDE of your chevron skirt. Since my white layer is so thin, you can see how the right side can be seen through. Sew the top of skirts together.

When you open it up, you'll see the seam from the underskirt, like this.

Press over, so both right sides are showing.

Stitch a casing that's just slightly larger than 3/4". Leave an opening through which to thread the elastic. Cut 3/4-inch elastic to desired waist size, thread through (you'll just thread it in between the two skirts). Close your casing. Done!



Thursday, August 30, 2012
Project Chevron: Top #2
Yuppers. It's another peasant top. I actually sat for awhile, thinking about what I wanted to do with the purple tonal. Then, when looking at my scraps from previous projects, I remembered the lovely Dress Up Days fabric. Jackpot. And then, as I sat down, I just started cutting another peasant top. It just kind of... happened. I did vary this one up a little with slightly longer sleeves, more length, and a shirred waistline. I love how versatile the peasant top/dress is. Seriously, what CAN'T you do with it?! :)
 Little Booger was being, well, a little booger, so these are the best shots I got. But seriously, how can you get irritated with this goofy girl?


Tuesday, August 28, 2012
Riley Blake Chevron Stash-- Top #1
Remember how I won the Riley Blake fat quarter bundle? Well, that lovely chevron has been stacked on my shelf and staring at me, begging me to use it. So yesterday, during naps, I finally acquiesced and made this peasant top for Riley.
 I wanted something that popped, so I grabbed a solid black cotton that I had. But I didn't want a black-and-white contrast, so I went with the tonal aqua chevron. I wanted it to be good for layering as we go into Fall, so I made wider
sleeves and a tighter neckline (so a t-shirt wouldn't peek out the top).
I wanted something that popped, so I grabbed a solid black cotton that I had. But I didn't want a black-and-white contrast, so I went with the tonal aqua chevron. I wanted it to be good for layering as we go into Fall, so I made wider
sleeves and a tighter neckline (so a t-shirt wouldn't peek out the top).
I haven't actually sewn a peasant top in a while. I love what a quick project it is. And it's pretty forgiving. I didn't use a pattern for this one.
 Now onto the next chevron! Maybe a little sumpin-sumpin for Brooksy-boy?

I haven't actually sewn a peasant top in a while. I love what a quick project it is. And it's pretty forgiving. I didn't use a pattern for this one.


Friday, August 24, 2012
Mermaid Tail... the tale of a mermaid pants!


And when the owl jumper didn't cut it, the giraffe jumper...

But it's not just my little people who inspire me. These pants are made with our little friend, Gracie, in mind. Gracie LOVES mermaids. Loves 'em. So I thought it would be fun to whip up some mermaid pants.
As I was brainstorming, the only issue I could see was the fact that I would be making pants and mermaids do not have legs. That really is the only problem with mermaids; am I right?! :) But I think we got around that pretty well... I think.


Subscribe to:
Posts (Atom)