
It was really cold this past week. So what did I do? Make a little spring skirt! :) But if you did it in more, uh, seasonal colors, it can work year-round. Just add tights or leggings!
Materials:
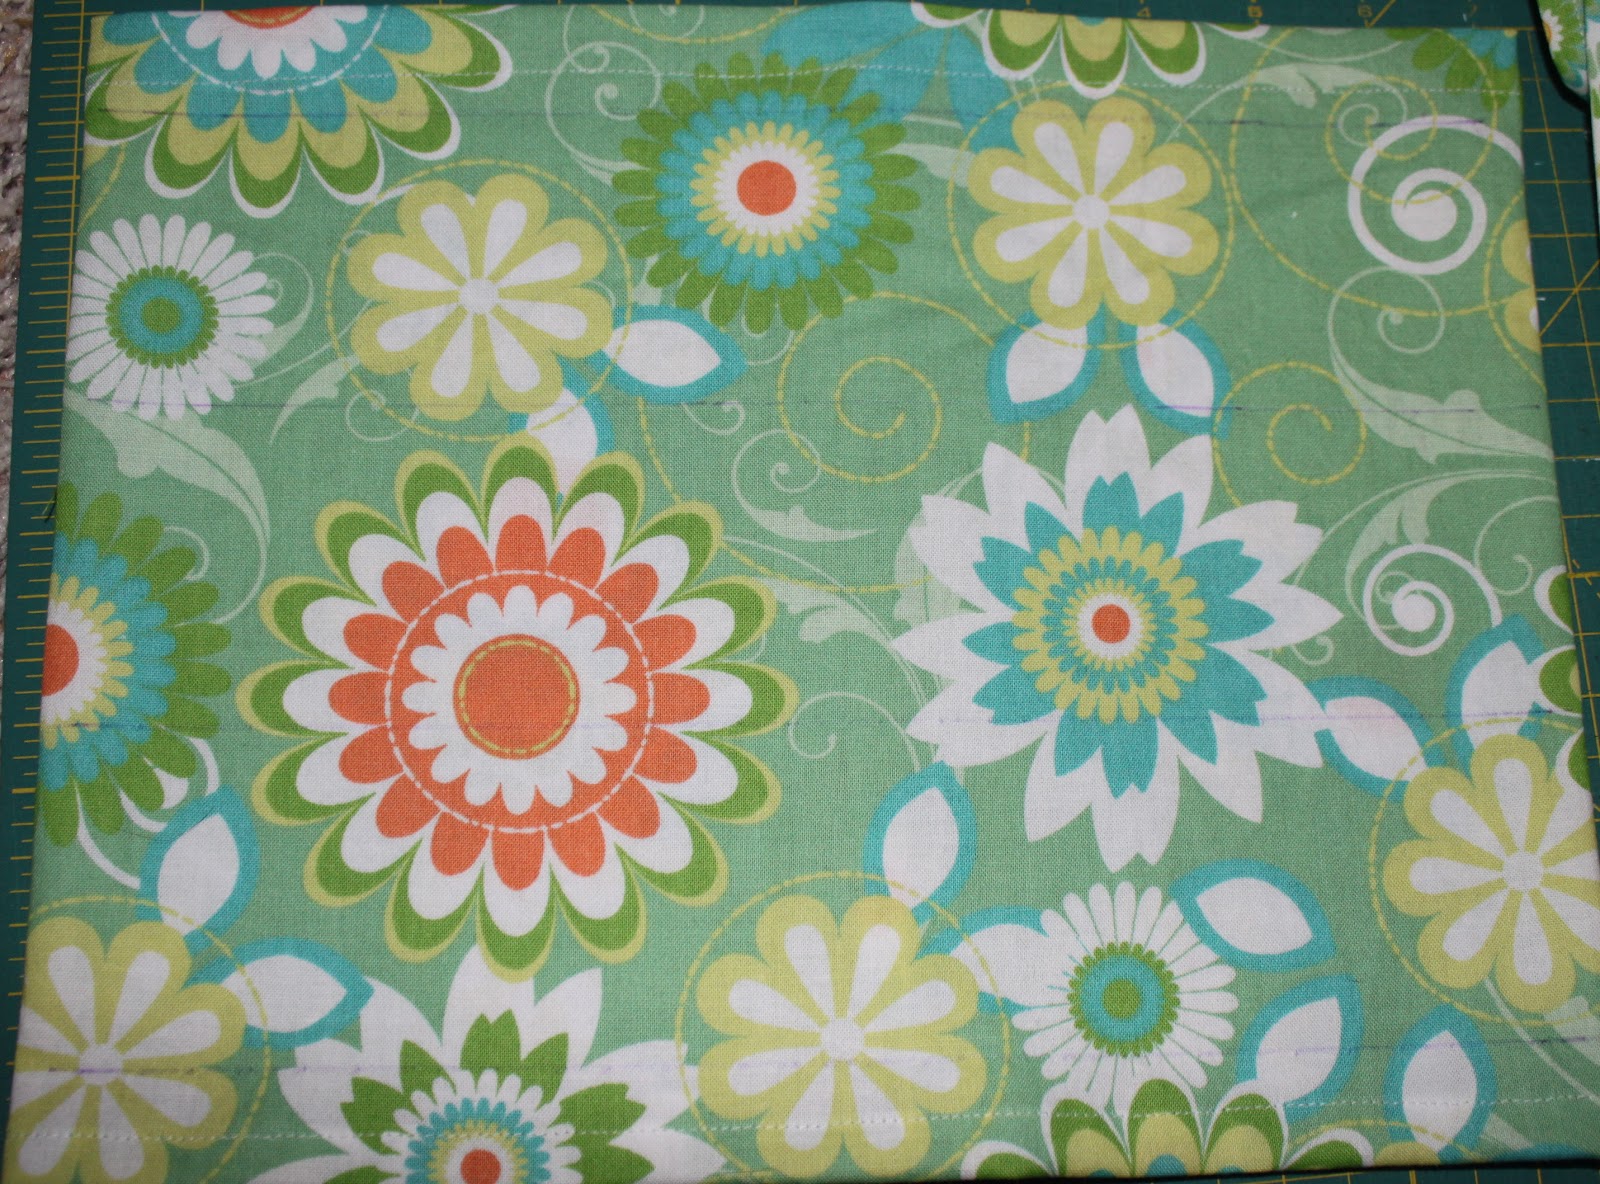
coordinating fabrics (you can use as many or few as you want-- even just one fabric)
1/2-inch elastic
fabric marker
sewing gear
Instructions:
Let's start with the skirt base. Decide on the length you want for your skirt and add 2 inches for the hem and elastic casing. Then cut the width your waist measurement plus 4 inches.
For my skinny-mini 3T/4T, I cut the skirt 13 inches long and 25 inches wide.
Sew your short edges together then zig-zag to finish. Then fold your hem up 1/2 inch and press, then another 1/2 inch and press. Sew close to the edge.
For your waist/elastic casing, fold over 1/4 inch then 3/4 inch. **These measurements do not have to be exact. Do make sure that you'll be leaving enough room in your casing to fit the 1/2-inch elastic.**
Stitch casing, close to the edge, leaving about 1 inch open through which to thread your elastic.

Here's the opening...

Using a straight edge and your fabric marker, draw lines across your fabric, starting 1/4 inch below the stitching of your elastic casing. From there, draw the lines 2.5 inches apart. (You may need to adjust this if your skirt is significantly bigger or smaller.)
Now we move on to the ruffles-- the more time-consuming part that makes it just so freaking adorable.
Cut four strips, 4 inches by the width of the fabric.

Sew short edges together, making big loops. Zig-zag stitch. Hem the bottom of the strips. Then run a gathering stitch along the top edge.

Gather the ruffles until they're the width of the skirt base.

My OCD tendencies were kicking in while I was making this one, so I went the less efficient, more finished route. However, the more efficient way is, really, pretty much just as good. Let me walk you through what I did for attaching the ruffles, then I'll tell you the more efficient option.
Staring with your top ruffle, line it up with the top line. Place fabric right sides together with the ruffle flipped up. Sew a straight stitch to secure the ruffle to the base. Then go back and sew a zig-zag stitch along the edge, to finish it off.

Continue doing this with all your ruffles until you get this. This picture is actually of the skirt upside-down because the ruffles will be flipped down in the next step.

Flip the ruffles down, starting with your bottom ruffle. Press it down lightly. Then topstitch close to the edge.


Once all your ruffles are flipped down, you'll have this.

**The quicker way to do all this is to do your top ruffle the same way. But since the bottom ones are overlapped, you can just place them as you want them, right sides out, stitch them on with a straight- then a zig zag-stitch. This way, you skip the flipping down and top-stitching, and no one else will ever know. **
Now all that's left is to put your elastic in. Using a safety pin, thread it through your casing. Once you have it all the way through, overlap the edges and zig-zag stitch them together. Then close up your opening.

Here's what the inside of the skirt looks like:

And here's what the outside looks like. Model pose!

And work it out because, hey, you've got a sweet new dancing skirt! :)

SUPER cute! I love the ruffles! Would love for you to link up to DIY Diva Thursdays this week :) we party every Th-M ;)
ReplyDeleteKara
www.mineforthemaking.com
Will do! My little diva dance machine will fit right in! :)
DeleteAdorable, little skirt, Heather!!! I'm with you on attaching the ruffles. What if someone were to see the ruffles attached the untidy 'wrong' way... LOL!!! Actually, the more I improvise with clothes upcycling, the more I find I'm bending the rules.
ReplyDeleteSeriously! If I'm making things just for my own brood, and a shortcut doesn't alter the durability, I'm going shortcut, 9 times out of 10. :)
DeleteI love the skirt it is so cute. Thank you for showing me how its done. Have a great week
ReplyDeleteWoke up in the middle of the night thinking I need directions on how to make one of these skirts. I'm glad I found it on Sumo's Sweet Stuff link up party. I've pinned it. Thanks!
ReplyDeleteNice! What great timing! :) I love that these skirts are so cute, but, really, pretty easy to make. Have fun choosing fabrics! :)
DeleteLove it!! This is such a fun skirt!!
ReplyDeleteThis is great, I might make one of these for my little girl!
ReplyDeleteoh so adorable!!! I love this! Found you on Skip To My Lou. Would you please share this with our readers for Fun Stuff Fridays? http://www.toysinthedryer.com/2012/02/fun-stuff-fridays-11.html
ReplyDeleteLindsi, I actually tried, but for some reason, I couldn't click the link thing on your page. Weird, right? I'll try again when the kids go down for naps! :)
DeleteMy computer doesn't like your blog, for some reason! I can't click on anything!! Bummer! I wanted to join the party!
DeleteSuper duper CUTE! Must pin!
ReplyDeleteI did my ruffled table runner the same way!! So I appreciate your 'no short cuts' approach. my mom always tells me that they should look as good underneath as they do on top, which is frequently easier said than done! Good job sistah!! Visiting from The Shabby Nest and a new follower via Bloglovin!
ReplyDeleteJen